🩷 방문자 추이
오늘
어제
전체
🏆 인기글 순위
티스토리 뷰
728x90
반응형

프로젝트 폴더 내부로 이동 후 http-proxy를 설치해줍니다.
npm install http-proxy --save
app.js 내부에 연결할 웹 url을 입력해주면 끝.
var express = require('express');
var path = require('path');
var httpProxy = require('http-proxy');
var proxy = httpProxy.createProxyServer();
var app = express();


// app.use('/', express.static(path.join(__dirname, '/app')));

app.get('/*', function(req, res){
    proxy.web(req, res, {target : 'http://localhost:8080/'});
})

app.post('/*', function(req, res){
    proxy.web(req, res, {target : 'http://localhost:8080/'});
})

app.listen(3000, function(){
    console.log('Example app listening on port 3000!');
});
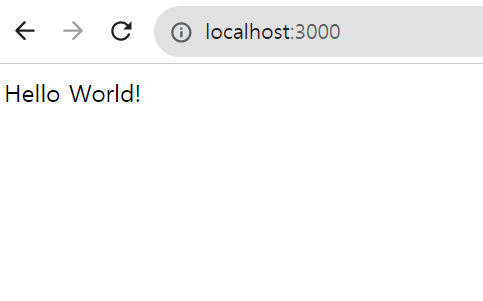
서버 구동 후 localhost:3000에 들어가면, localhost:8080 페이지의 화면이 뜨게됩니다.
저의 경우 localhost:8080에 Hello World!를 띄워놨기에 정상적으로 Hello World!가 출력된 것을 확인할 수 있었습니다.

728x90
반응형
'프로그래밍 > Node.js' 카테고리의 다른 글
| [Nodejs] 스태틱자원 경로 설정하고 이미지 불러오기 (31) | 2023.12.11 |
|---|---|
| [Nodejs] 프로젝트 생성하기 (0) | 2023.09.26 |
| [MongoDB] find 쿼리문으로 데이터 하나만 뽑는 법 (0) | 2021.11.03 |
| [Mongodb] 하나의 Field를 다른 Field 로 수정하는 방법 (0) | 2021.07.12 |
| [Nodejs - Mongoose] Schema에서 default 값을 현재 시간으로 하는 법 (4) | 2021.07.07 |
댓글
