[flutter] 플러터 튜토리얼1. 설치
아래 링크에 들어가서 본인 운영체제에 맞는 것을 설치한다
나는 윈도우로 설치했다
flutter.dev/docs/get-started/install/windows
Windows install
How to install on Windows.
flutter.dev
여기서 SDK 압축파일을 다운받는다

받은 압축파일을 풀면 flutter 폴더가 생성된다.

플러터 설치페이지에는 flutter를 C:\ProgramFiles\에는 설치하지 말라고 되어있다. ( 권한문제때문에 )
bin에는 flutter 실행파일이 존재하므로 bin폴더를 path에 추가해준다.
시작을 눌러서 환경 변수를 검색하고 시스템 환경 변수 편집 > 환경 변수에 들어간다.


사용자 변수에서 변수 Path를 더블클릭하면 나오는 환경 변수 편집에서 새로만들기를 눌러 flutter\bin을 추가한다.
나는 C:\flutter\bin를 추가했다.
cmd를 열어서 flutter를 쳐보면 잘 설치되었음을 확인할 수 있다.

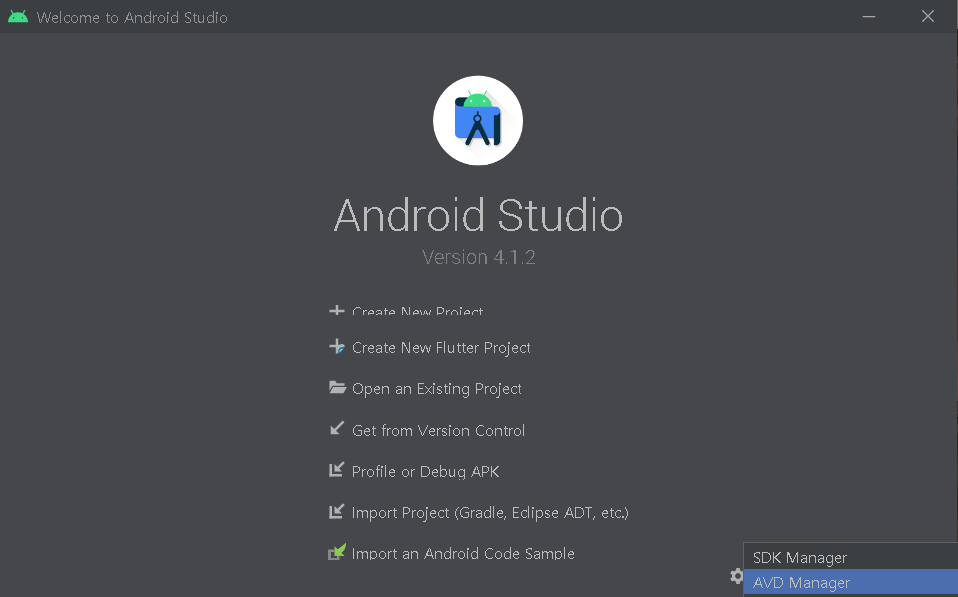
안드로이드스튜디오가 설치되어있지 않다면 설치를 해야한다.
그 후에 cmd에 flutter doctor --android-licenses를 입력한다.

이제 안드로이드 스튜디오를 열어서, 오른쪽 하단의 Configure > AVD Manager에서 원하는 테스트기기를 설치한다. (설정은 다 기본으로)
다음으로는 VS code를 설치한다.
Visual Studio Code - Code Editing. Redefined
Visual Studio Code is a code editor redefined and optimized for building and debugging modern web and cloud applications. Visual Studio Code is free and available on your favorite platform - Linux, macOS, and Windows.
code.visualstudio.com
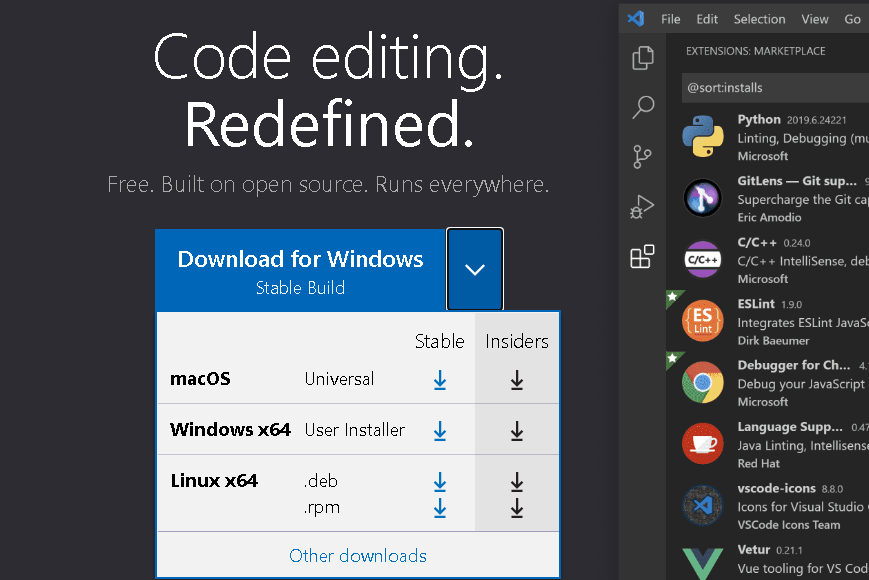
맨 아래에있는 Other downloads를 눌러서 Systeim Installer로 설치한다.

설치가 끝나면 VScode를 열고 왼쪽바에서 맨마지막 큐브같이생긴 메뉴를 누르고, flutter를 검색해서 설치한다.

설치 끝.